Audacity glitches
Contents
There are many ways to beautifully destroy an image. One of the classical ways is to poke around in the hexadecimal representation of the image and remove and/or replace bytes. Code and examples can be found here
Another popular way that is a bit more "advanced" is to load an image (in .bmp or .tif format) as raw data into audacity and play around with its audio representation, then export it as an image. It is easier to convert to .bmp files, but I find that .tif often has cooler results.
Exploring different effects
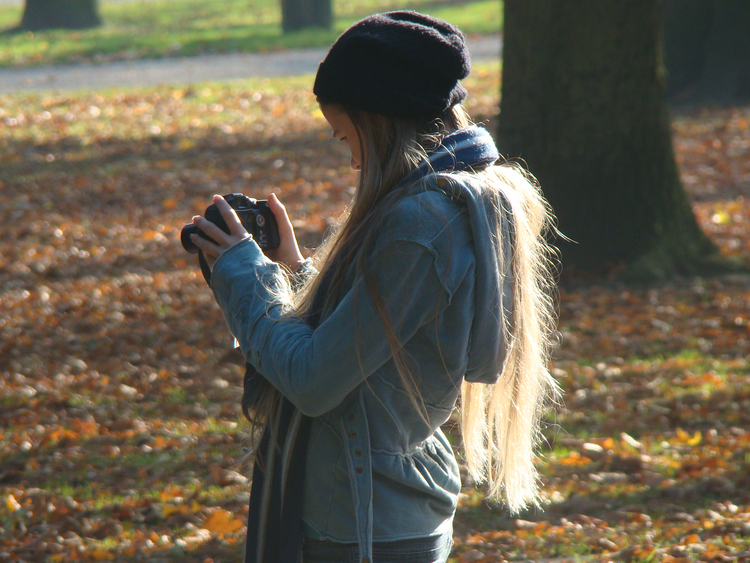
This is my input image originally in .tif format. It is me at age 13 taking a picture of some leaves.
Echo
This is a moderately large 'echo' applied to a part of the image. It creates sort of an 'image echo'!
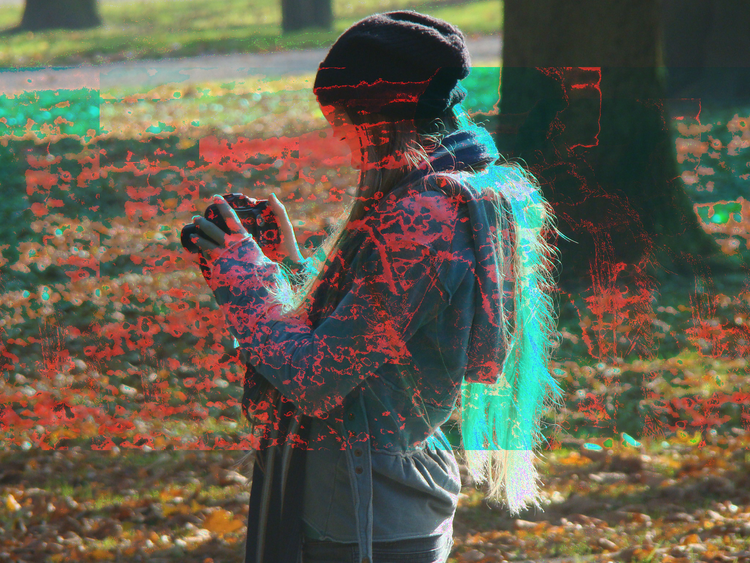
This effect is cool to play around with. Especially if you have access to RGB channels separately.
Bass & Treble
OK, at first I applied bass&treble to only the representation of information about the blues of the image(using RGB non-interleaved representation):
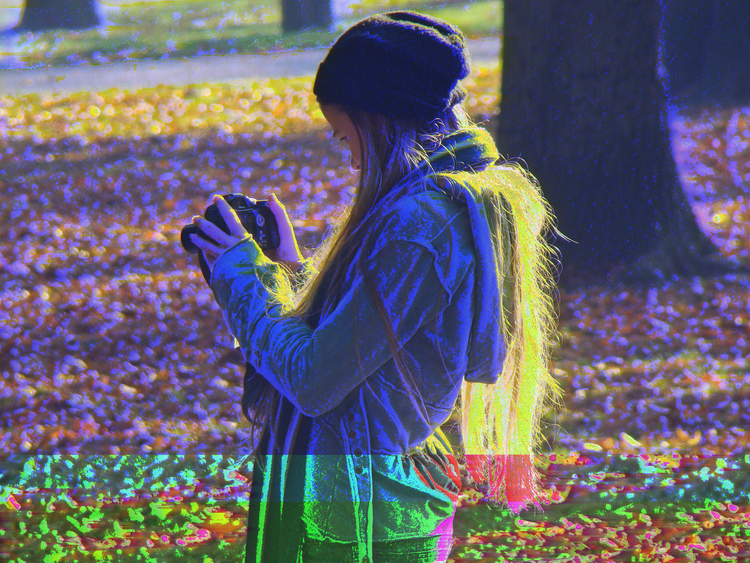
Not too interesting, but applying it to the whole image makes it look pretty cool!
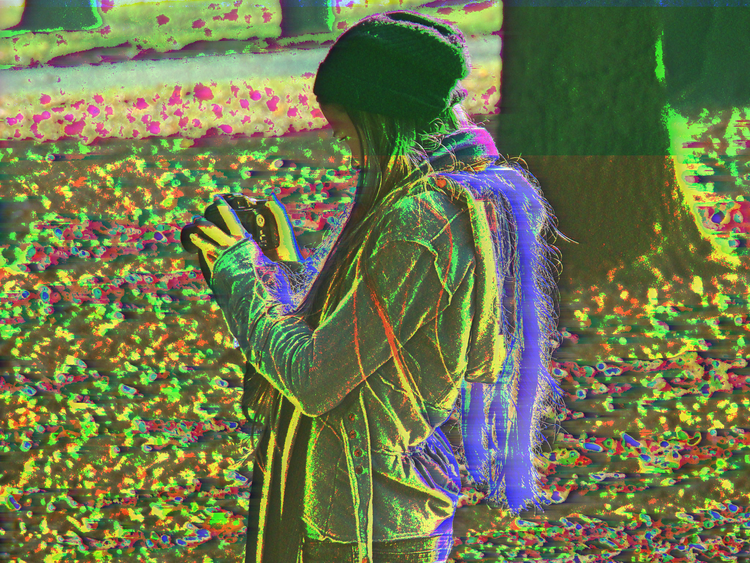
What happens if I turn up the bass and leave out the treble?
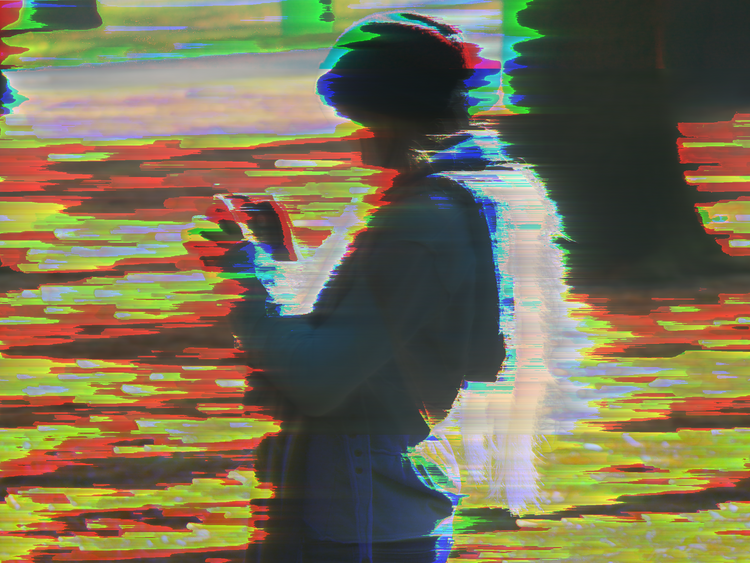
It looks pretty dreamy. This is a literal bass-boosted image!
Invert & Reverse
'Invert' and 'reverse' mean different things, where invert mostly looks like a cheesy effect with somewhat inverted colors:
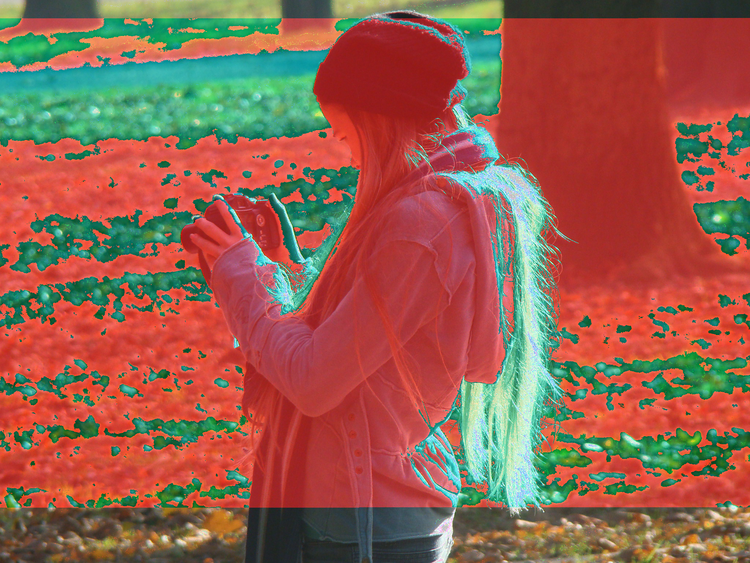
Reverse does what it says on the lid, it flips the image. It's hard to get the original colors back.
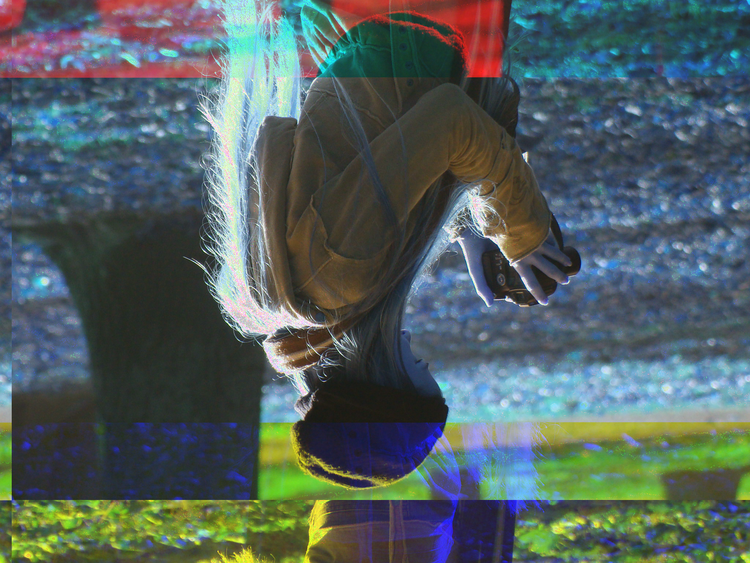
We can also apply 'reverse' to just one channel. In this case I chose the green channel. Now we have two Anna's. Looks pretty cool.
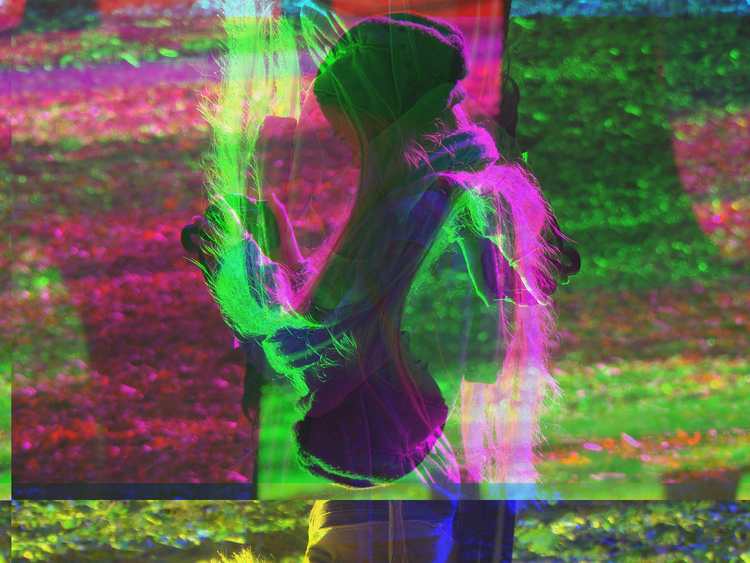
Reverb
Reverb does somehow not create an echo-y effect on the image as in echo.

It does give off a different vibe when you apply it to one channel only. I like it.
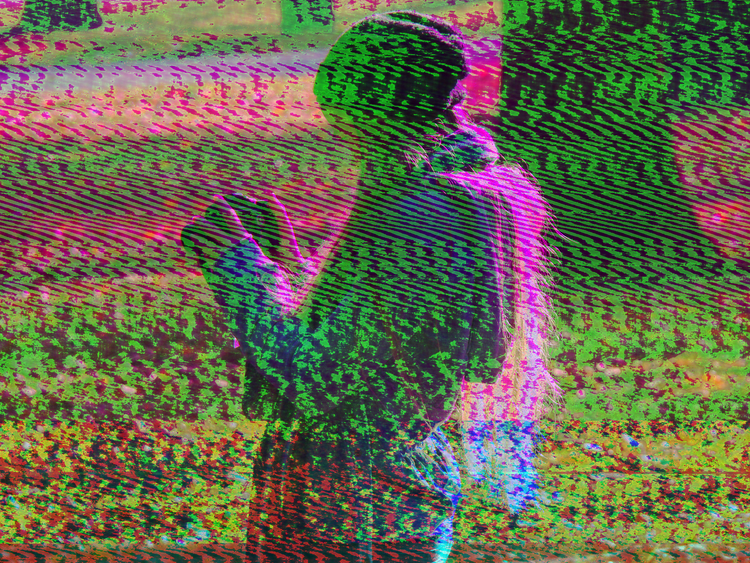
Pitch Change
This was my favourite effect so far! The colours are nice and yet it feels like a more analog glitch, such as scanning an image while shaking it.
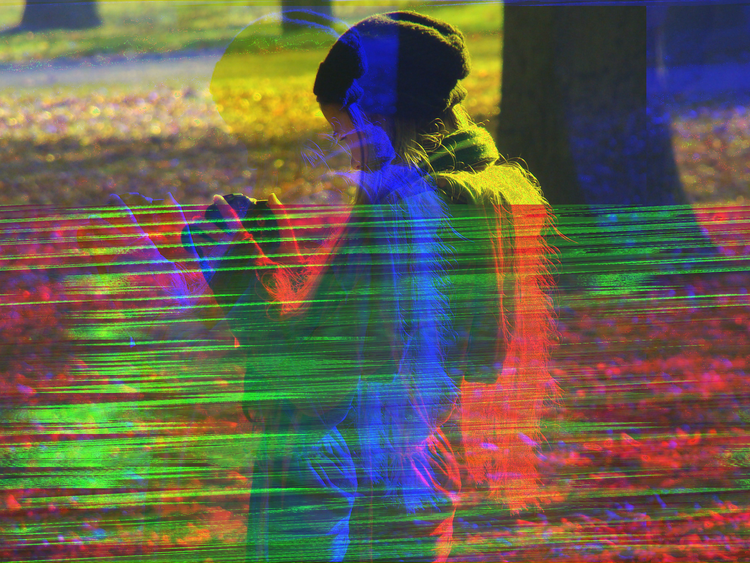
Chopping or Combining images
Some effects, such as tempo changes and pitch changes, can affect the overall length of the file, which is something to be careful with - it can break your image to the point that it is unreadable by any image viewer.
But some image info can be deleted! As long as we make sure that headers at the beginning of the file (and the beginning of RGB parts of the file, if you work with this encoding) are intact, you have some freedom in regards to deletion.
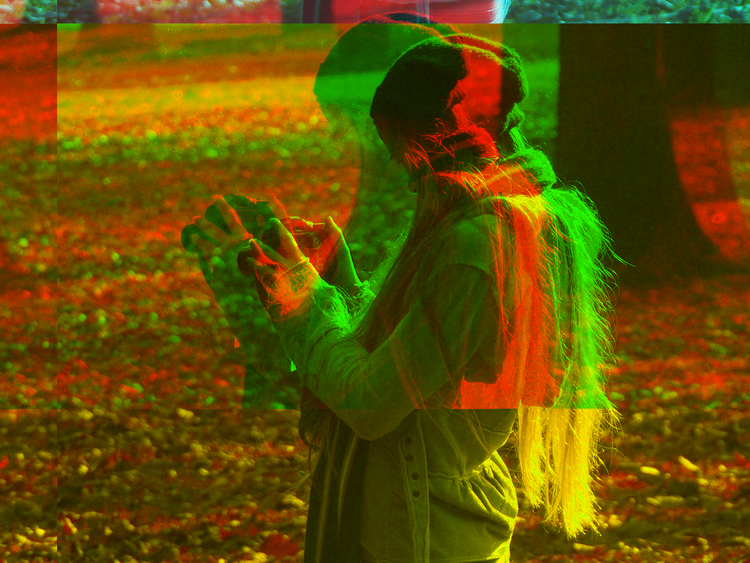
This is what happens when we delete a big chunk in the middle of the .tif file:
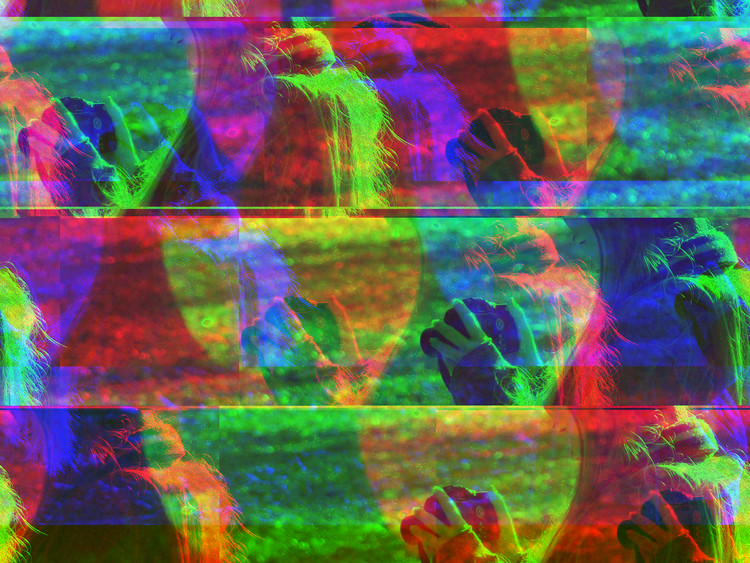
And if we cut out multiple small chunks and repeat some chunks, it becomes even more colorful:
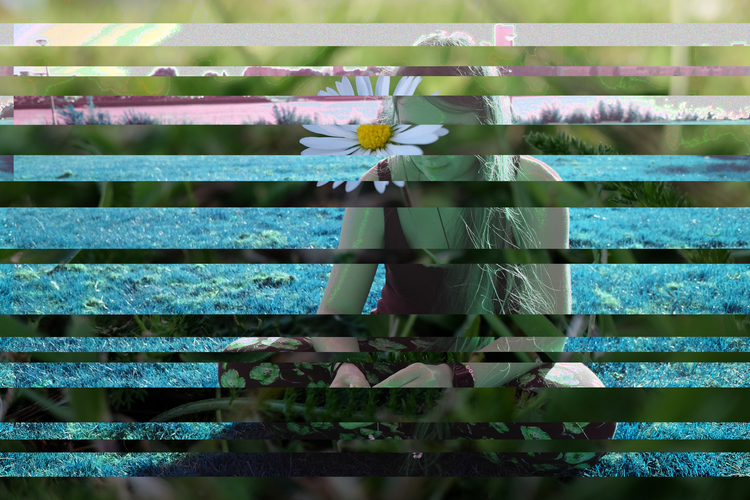
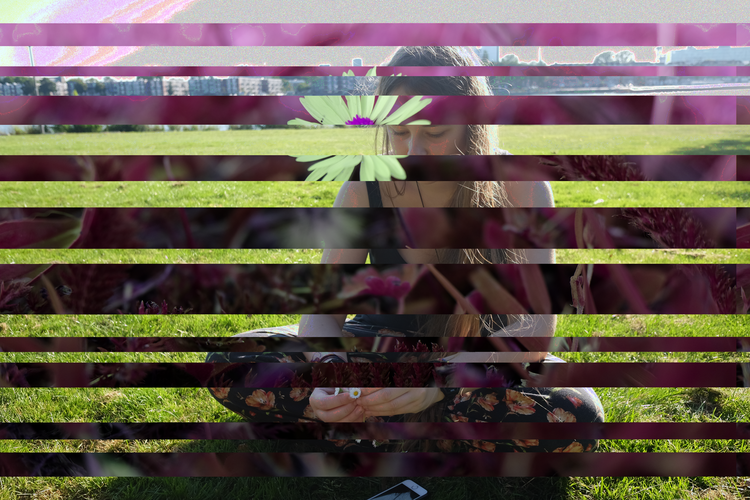
We can even combine multiple files this way. Usually, it is not interesting to merge two tracks into one, but you can chop up both files and then combine them. I am using two new images here, one of me with a flower, and one of a flower, and recombining the two with audacity.
These are the two 'halves' of this sort-of genetic recombination:
How do you do this?
There are a lot of good guides online - for instance this one. Here's a summary:
-
pick any image file!
-
convert it to
*.tifor*.bmpusing your favourite image editor program, such as gimp. if you choose*.tif, it is better to convert it per channel (select: non interleaved or RRGGBB) -
click import raw data in audacity and select your file
-
from the menu that pops up, choose u-law (or a-law) from the menu that pops up. also select mono instead of stereo. leave the rest as is.
-
~~enjoy your harsh noise~~ apply your effects, but don’t touch the very first bit of the data, and make sure that the length of the file stays the same!
-
export your file as
.tifand enjoy. (make sure to select "other uncompressed files", select RAW(headerless) and u-law encoding)
Small note
~~This page is based my own blog post I made back in 2016.~~